Tuesday, November 9, 2010

Little Bathroom Cabinet Makeover

We have tons of cabinet storage in our guest bathroom, but no drawers! I've had my eyes peeled for something for the past few weeks, and I finally ran up on this little "chest of drawers" at a thrift store for $2.50:


Of course, the drab blue had to go!  It took three coats of "snowflake white" to cover it.


Much better!  But, it was still missing something, so I dug out my dwindling stash of tan toile.  I hot glued some of it into the drawer fronts, using tweezers to stretch it down so it looked nice and tight.


Love the result, and it looks fantastic on the bathroom countertop!


I love the whites and tans.  So light, so clean.  Thank you, Salvation Army!


(I linked this post to Faded Charm's "White Wednesday."  Beautiful blog!  I also linked to a very unique linky party, The Barn Chick Party.)

Monday, November 8, 2010

Rustic Meets Vintage--More Tree Ornaments

I'm still on an ornament-making rampage.  My goal was rustic with a little girly vintage-y flair.  I think I succeeded nicely!

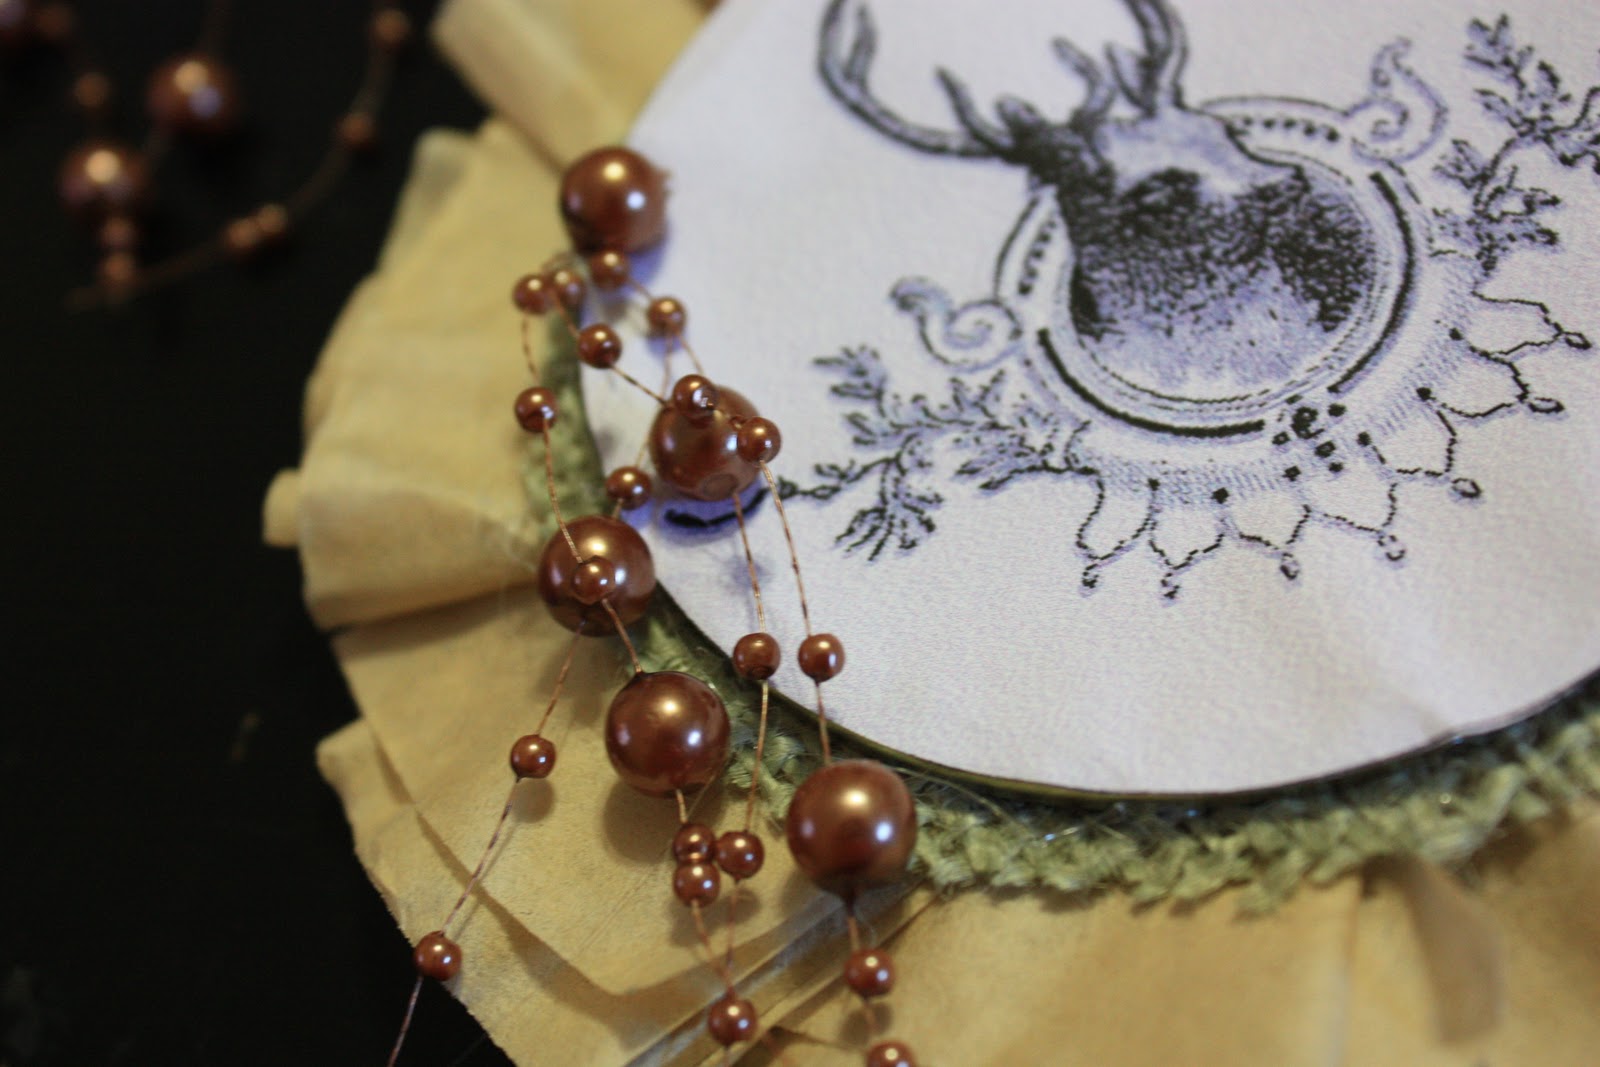
I started by printing a lovely deer image from The Graphics Fairy, which has tons of lovely free images!  I glued the image onto a Ball jar lid.


I found some lovely green burlap on sale on Hobby Lobby, so I glued a circular piece onto the back of the lid.


I then folded beige coffee filters and glued them around in a circle, making a little rosette outline for the ornament.


I snipped up little strands of bead garland and glued around the deer image.


Elegant yet rustic!


I decided to make another, since there is no shortage of adorable vintage Graphics Fairy images.  The backing for this ornament, since the image was a rectangle, is made of the back of a Cheerios box (cheap!). 


This one also got a green burlap background.


I used the same beaded garland to jazz this one up, along with a few buttons.


And the final product...


Can't wait to see them on the tree!


(Thanks again to The Graphics Fairy for this fantastic and free images.  I am linking this post to her "Brag Monday" linky party.  I am also linking to Cindy Adkins' Creative Sprit Challenge at her great blog, Whimsical Musings.  I'm also linking to...

Saturday, November 6, 2010

Saturday Crafty Linky Party

I enjoyed yesteday's Linky parties so much that I sought out another for today!  Yesterday's party gave me so many great ideas and led me to so many great blogs!  Here is the link for today from an awesome craft site:


I linked up to my coffee filter wreath post, since it's probably my favorite craft so far.  Be sure to check out all the entires over at Craft Envy!

Friday, November 5, 2010

Friday Crafty Linky Parties

Today, "Till Death Do Us Part" is participating in two linky parties, one sponsored by French Country Cottage, and the other by Southern in my Heart.  I have linked up my "Jar Lid Christmas Ornament" post from yesterday.  There are many fabulous and inspirational projects submitted on both blogs that I can't wait to investigate!


Enjoy!

Thursday, November 4, 2010

An Early Christmas Project--Jar Lid Ornaments

Today "Till Death Do Us Part" was one of the featured blogs on Cozy Little House's "Welcome Wagon," for which I am very grateful!  Another blog on the Wagon is Vicki's Rusty Rooster Vintage.  In the latest post, Vicki made Christmas ornaments out of old mason jar lids, and they are beautiful!  I thought I had some new ones lying around (I love to can!), but it turned out that all I had were wide-mouth lids with no rings.  So, I didn't get to follow Vicki's "recipe" as closely as I would have liked, but her project definitely inspired the ornaments I came up with this afternoon.  I LOVE fall, so I'm not usually one to start thinking about Christmas until after Thanksgiving, but since I plan on making all of the ornaments for our first Christmas tree, I need to get an early start!


First, I took a hammer and nail and punched a hole in the jar lid.


I cut heavy-duty "tissue" paper from Hobby Lobby into a circle and glued it onto the lid.


I love buttons, so I used them as the ornaments on the ornaments, so to speak.


For hanging, I added ribbon through the hole in the lid, and I'm done!


I made these a little hodgepodge-ish because I like when things don't match exactly but coordinate for an interesting look.  Another fun project you can modify to your own style and complete on a tight budget!


(P.S., I'm linking this up to a very COLORFUL site, Paisley Passions.)

Wednesday, November 3, 2010

Using Fabric in Picture Frames

I find it difficult to find affordable prints that I really like, so I use other ways to fill frames and dress up my walls.  My new favorite is to "frame" fabric.

The frames I used in this post were unused ones we already had, and the larger white one came from Goodwill. I just removed the dated print.

It's as simple as taking out the cardboard inside the frame (or cutting a piece to size) and covering it snugly with fabric using hot glue.


I glued one of our wedding photos in the middle of this one and placed two complimentary strips of ribbon on each side before replacing it and the glass.  Here is the result!


Also, I needed something for my bathroom walls, since they've remained sadly bare for the past two months we have been in this house.

So, I used the same process with two smaller frames.


But instead of using a picture, I plucked a few leaves off some silk flower arrangements in the house, glued them on the fabric, and replaced the glass.


You can use any combination of fabric, pictures, ribbons, flowers, or leaves, or anything else you want to frame.  It's a very inexpensive, beautiful, and versatile project!  Enjoy!

Tuesday, November 2, 2010

Related Posts with Thumbnails