Wednesday, December 8, 2010

I Am Pleased To Announce...

...the opening of my Etsy shop, Cotton Breeze.  


Cotton Breeze offers affordable handmade home decore items with a distinctive farmhouse and cottage style. My goal is to create treasures that combine Southern flair and timeless charm.

I am so pleased to be able to be able to pursue this endeavor, largely due to the invaluable inspiration I have gained from all of the wonderful and creative bloggers I have encountered since starting "Till Death Do Us Part" just a few short months ago.

Some of the items for saleare things I have blogged about creating, and some are items I made just for the shop.  I will definitely be adding more items in the coming weeks, and I'm pleased to say that since "opening my doors" last night, I already made a sale! 

Here are a few of the items currently in the shop:


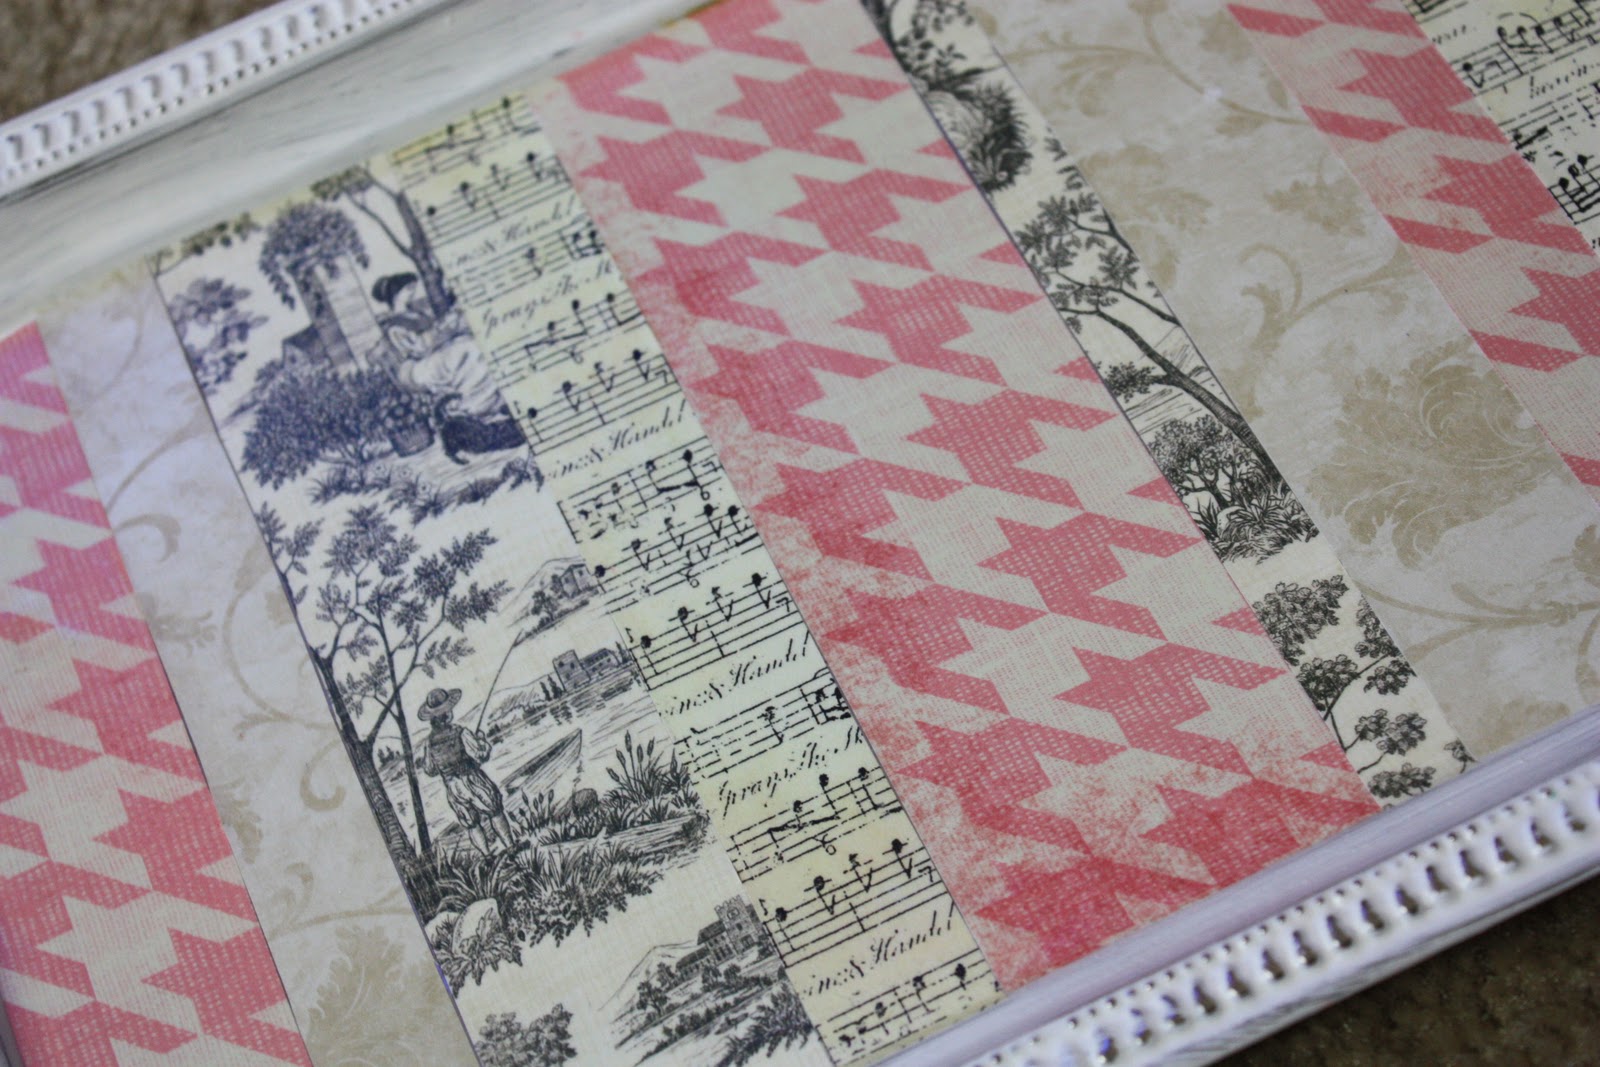
Shabby white trinket tray


Shabby white framed candy dish


Black and white square dishes


I am so grateful for all my blog friendships, and thank you again for all of your support of this blog and most of all, for your tremendous inspiration!


This post is linked to

Tuesday, December 7, 2010

Christmas Kitchen Table

Our kitchen is orange, blue, and green....not very Christmasy. So I knew I couldn't just toss some green/red candles in the center of the table for a centerpiece.  Therefore, I declared green and brown to be our Christmas kitchen colors.

I got some green/brown fabric on sale at Hobby Lobby to temporarily replace the blue/white fabric at the center of our everyday table runner.


Some pretty bottles and frosty pine cones....


A few of our everyday Spode Woodland dishes sit on the runner to add to the display.


A brown and green, outdoor, Southern Christmas!

Monday, December 6, 2010

Rustic Mini Christmas Tree

Don't you like to sit around and think up stuff you can make with things you already have on-hand?

I do.

I grabbed a file folder, fashioned it into a cone, and snipped off the bottom to make sit evenly.


Took a little twig bundle (they originally came from Target, but I bought a ton of them for a few bucks at a closeout store called Dirt Cheap).


Slapped a little brown paint on the cone and glued, glued, glued!


And popped atop a candlestick.

Pretty!

Friday, December 3, 2010

Christmas Entrance Table

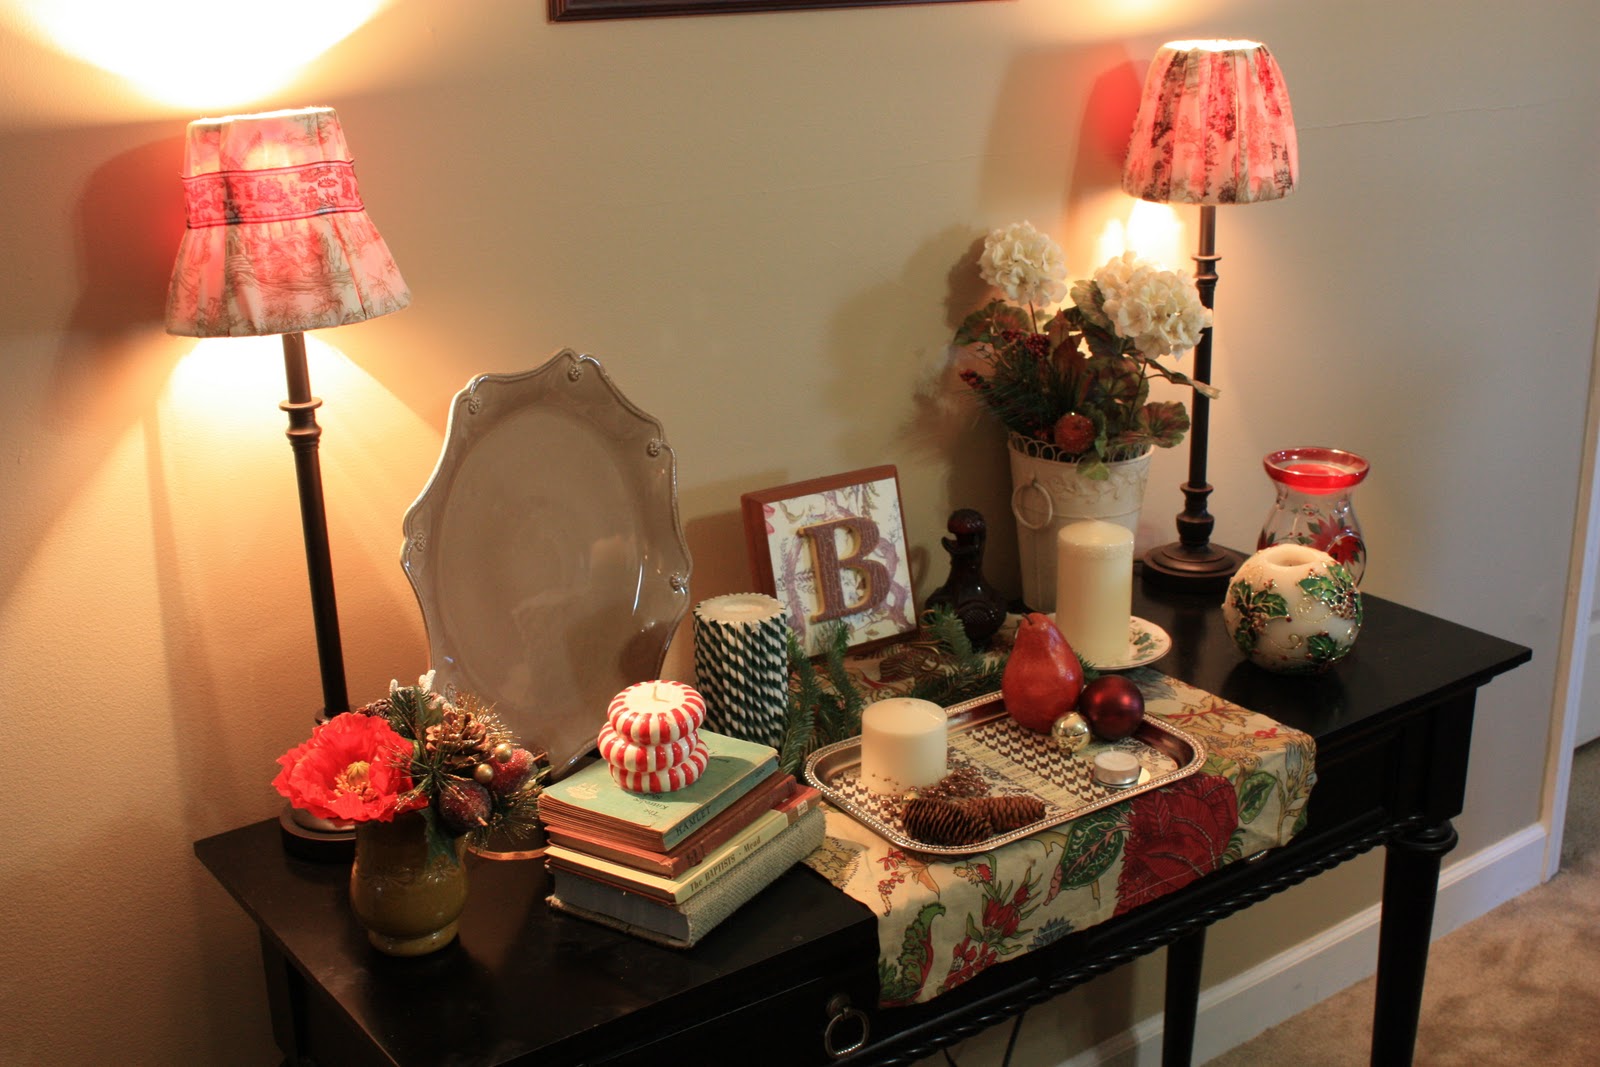
Here is my Christmas entrance table!


There are quite a few things on the Christmas version that were there for the "normal" version, like the platter and B initial plaque (newlyweds....rental house....one income....not a lot of cash to throw around on an elaborate entrance table makeover!)

This is the everyday version.


I kept the little stack of favorite books (including the one with the burlap cover I made a few weeks ago).


I also kept the shabby white tin vase, except I replaced the orange hydrangea with white and added a holiday stem.


I "borrowed" a little clay pitcher we got on our honeymoon in Costa Rica from its home on our bookcase and filled it with festive stems.


The cloth is a napkin I got months ago on sale at Pier One.  The platter is one of the trinket trays I have been making.  I filled it with a little holiday this-and-that.


Here is a candle I made using some double-sided tape and glitter. The plate was $.50 a Goodwill (and my mama used to have dishes like that!).


Merry and bright!


Wednesday, December 1, 2010

Vintage Trinket Tray

I just discovered yesterday that there is a great Dollar Tree about five minutes from my house. (How have I missed this?)

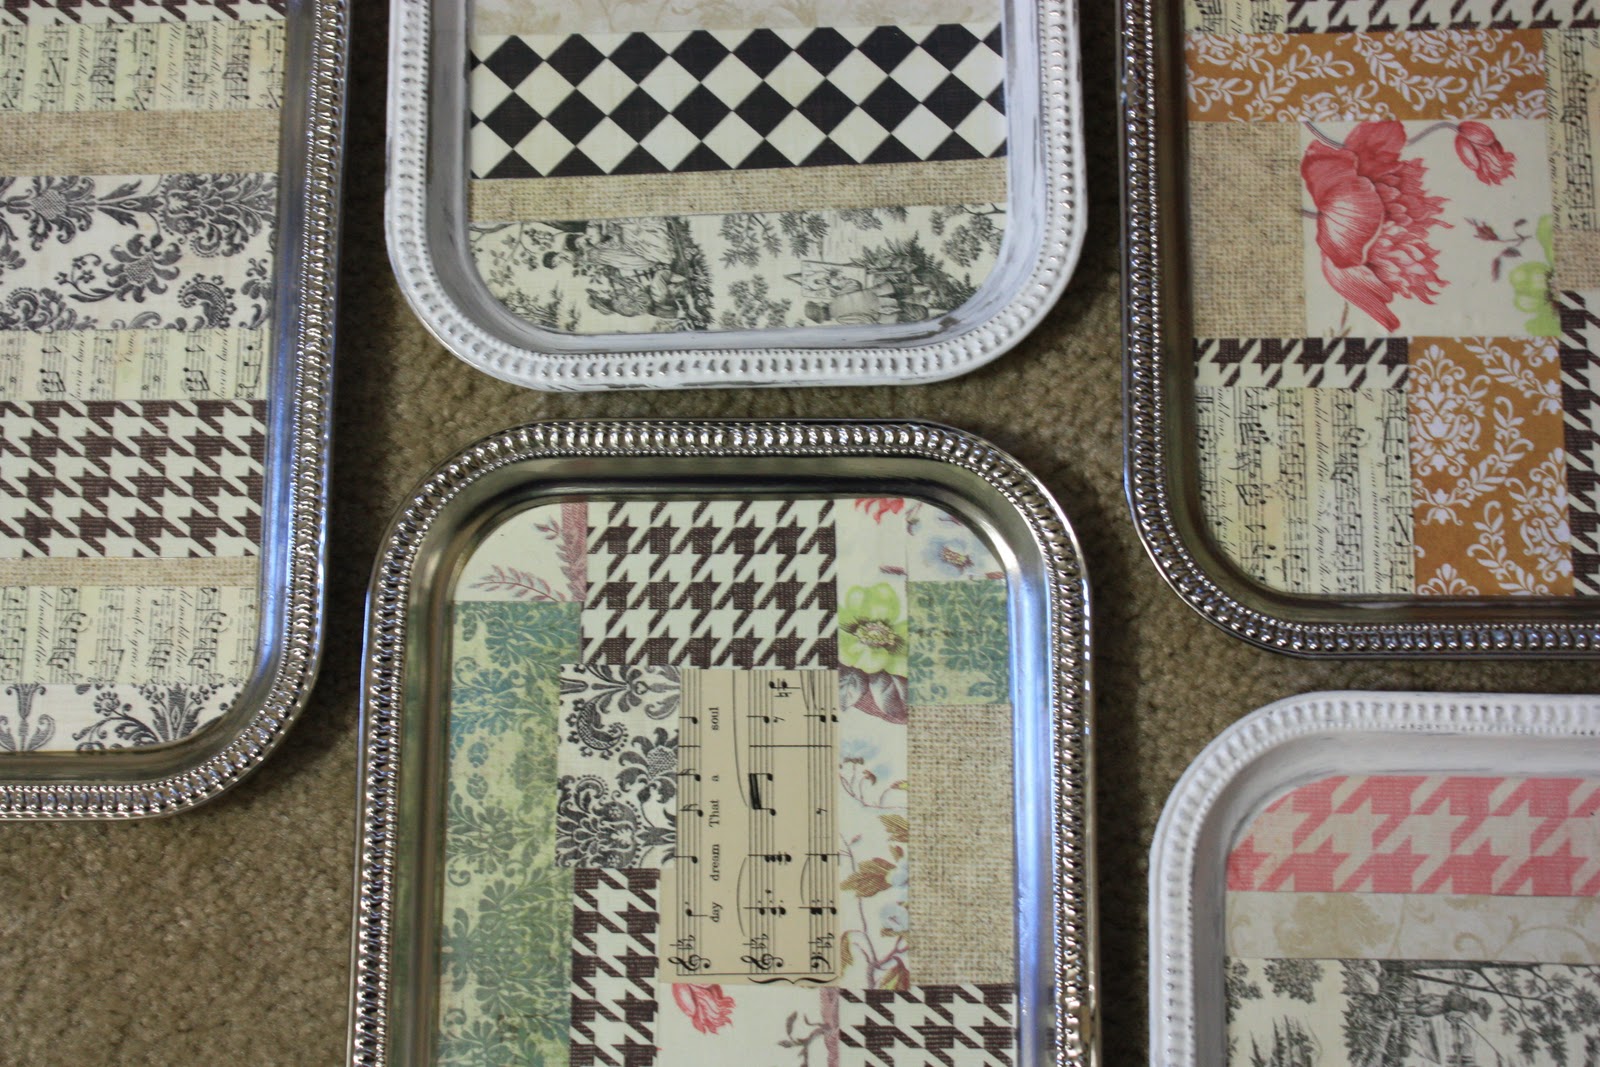
On my inaugural trip, I found some thin silver trays in the holiday section that I turned into pretty platters for various what-nots:


Much more fun to look at than the before:


And all it took was some scrapbook paper and Mod Podge.


I came up with several designs that worked with my decore.


Lots of Christmas gifts!


This one I am keeping for myself.   :)


The trays were $1, and I had the other supplies.  If I'd had to buy everything, the project still would have cost around $3 per tray.  These trays would be beautiful to use to showcase candles, small dishes, vases, other pretty little trinkets or collections, or to be a catch-all for coins and keys.   And I love the vintage look that these have.

A fantastic deal for the result, don't you think?


(P.S., I'm linking this up to Making Monday Marvelous, Make it 4 Monday, Motivate Me Monday, CraftoMatic Monday, Boardwalk Bragfest, Trash to Treasure Tuesday,  Pajama Party, Tutorial Tuesday, Lucky Linky Tuesday, What's Up Wednesday, Power of Paint, Beyond the Picket Fence, Strut Your Stuff Thursday, House of Hepworths, Transformation Thursday, Inspiration Friday, Sassy Sites, and Style Feature Saturday.  See their buttons at their permanent home on my sidebar!  I'm also linking to Frugal Friday and

Tuesday, November 30, 2010

Crinkle Ornaments

I have plenty of scrapbook paper leftover from other projects, so I wanted to use it to make some more tree ornaments.

I came up with the "crinkle ornament."


First, I gathered my supplies (does a silly kitten count as a supply?).


I cut a strip of paper, folded it over and over accordian-style, and then folded it lengthwise to make a little fan. (I used double-sided tape to stick the edges of the fan together.)


I grabbed my trusty buttons.


And I glued them in the center.


Now they're ready for the tree!


(P.S., I'm linking this to Creative Share Wednesday, Blue Cricket's Show and Tell, Strut Your Stuff Thursday, Beyond the Picket Fence, House of Hepworths, Inspiration Friday, Feathered Nest Friday, Sassy Sites, Remodelaholic Friday, Saturday Night Special, and Saturday Soiree.  See their buttons at their permanent home on my sidebar!

This post is also linked to

Monday, November 29, 2010

Sweet Christmas Yarn Wreath

Everywhere I turn, I see cute yarn wreaths, and being a wreath lover myself, I had to try one.  I wanted it to be part of my Christmas decore, which I finally started putting out today.

Here is my Christmas yarn wreath:


Since there is not a huge amount of Christmas green or red in my house, I'm having to be a little creative with Christmas decore, opting for white, tan, and maroon for this wreath.

The process is quite simple: take an inexpensive wreath from Hobby Lobby and yarn you already luckily have...


...and wind it around the wreath.  I was surprised at how long this took, and I didn't worry about "winding it pretty" until near the end when I was doing the top layer that would show.


For the embellishment, I cut out some felt circles.


I put the smaller circles on the larger ones, pinched up the bottoms, and ran a needle and thread through them.  Then I pulled it tight and tied it off so that it gathered up nicely like a flower.  (I can't remember what magazine I saw this in recently....maybe Southern Living?  Probably.)


I used hot glue to attach some little glittery berries that I pulled off another holiday stem.  I also glued some berries in a circle along the wreath.


Subtle.  Christmas.  Easy!


(P.S., I am linking this to Craft-O-Matic Monday, Making Monday Marvelous, Topsy Turvy Tuesdays, What's Up Wednesday, and White Wednesday...see their buttons at their permanent home on my sidebar!)

I'm also linking to

Related Posts with Thumbnails